


Visual Studio Code (VSCode) is a lightweight but powerful source code editor that runs on your desktop. It comes with built-in support for JavaScript, TypeScript, and Node.js and has a rich ecosystem of extensions for other languages and tools.
Table of Contents
- Installation
- First Launch and Interface Overview
- Essential Settings
- Extensions
- Workspace Setup
- Keyboard Shortcuts
- Integrated Terminal
- Source Control Integration
- Debugging
- Additional Resources
Installation
Windows
- Visit the VSCode download page
- Click on the Windows download button
- Run the installer (.exe file)
- Follow the installation wizard
- Check the options to:
- Create a desktop icon
- Add “Open with Code” to Windows Explorer context menu
- Register Code as an editor for supported file types
macOS
- Visit the VSCode download page
- Click on the Mac download button
- Open the downloaded .zip file
- Drag Visual Studio Code.app to the Applications folder
- Optional: Add VSCode to your Dock
Linux
- Visit the VSCode download page
- Choose the appropriate package for your distribution (.deb, .rpm, etc.)
- For Debian/Ubuntu:

- For Red Hat/Fedora:

First Launch and Interface Overview
When you first open VSCode, you’ll see:
- Welcome Page: Contains quick links to common commands and recent projects
- Activity Bar: Left sidebar with icons for different views:
- Explorer: File browser
- Search: Find and replace
- Source Control: Git integration
- Run and Debug: Debug panel
- Extensions: Manage extensions
- Status Bar: Bottom bar showing information about the current file and editor
- Editor Area: Main coding area (can be split into multiple editors)
- Panel: Bottom panel that can show terminal, output, problems, etc.
Essential Settings
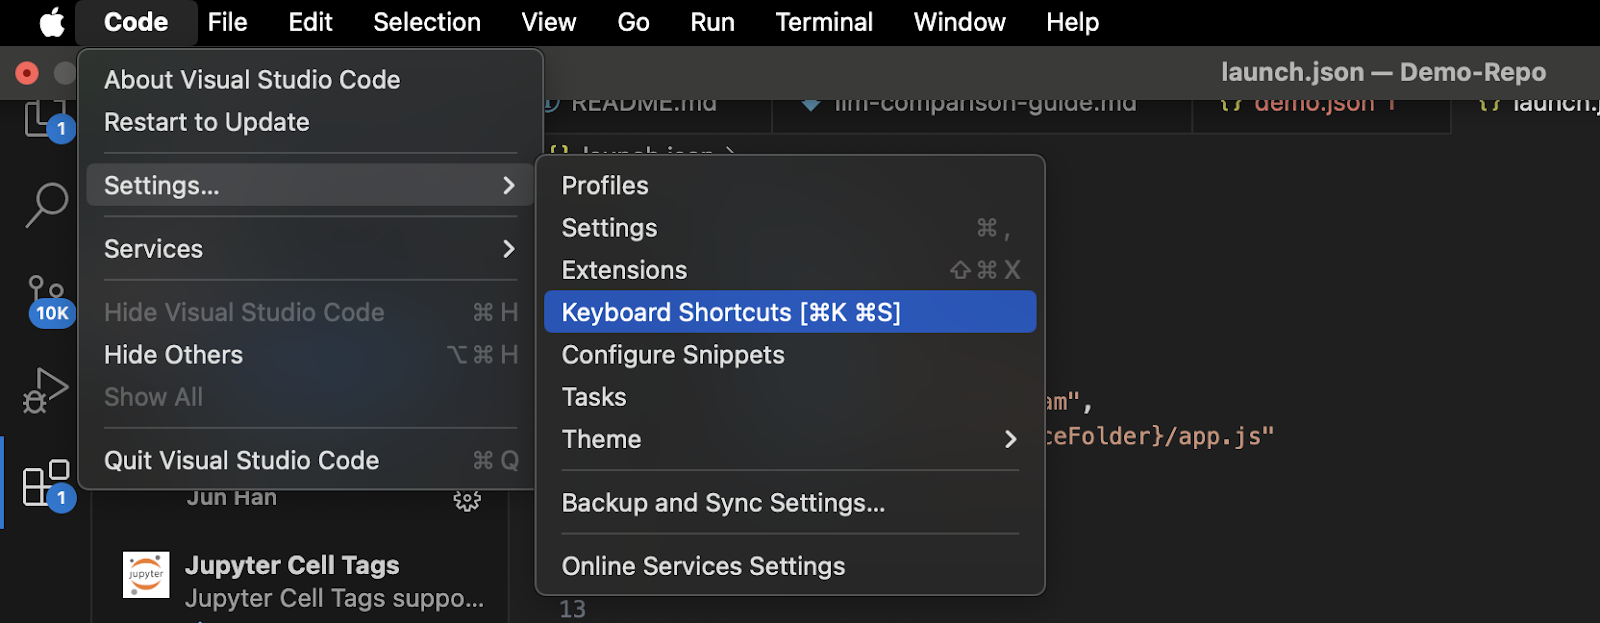
Access settings by:
- Windows/Linux: File > Preferences > Settings
- macOS: Code > Preferences > Settings
Recommended settings to consider:
- Theme:
- File > Preferences > Color Theme (or Ctrl+K Ctrl+T)
- Popular choices: Dark+, Light+, Monokai, Solarized
- Font:

- Auto Save:

- Tab Size:

- Formatting:

Extensions
VSCode’s power comes from its extensions. To install extensions:
- Click the Extensions icon in the Activity Bar (or press Ctrl+Shift+X)
- Search for extensions by name
- Click Install

Essential extensions by category:
General
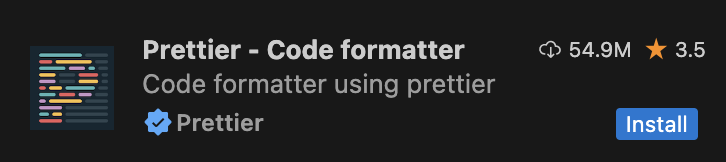
- Prettier – Code formatter: Consistent code formatting
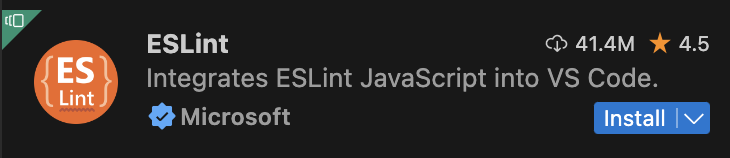
- ESLint: JavaScript linting
- EditorConfig: Maintain consistent coding styles

Languages
- Python: Full Python support

- C/C++: C and C++ intellisense, debugging

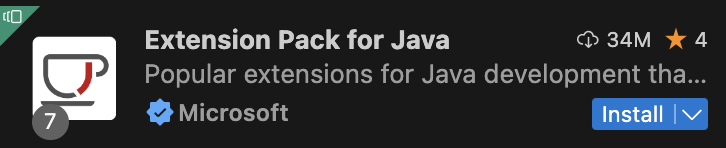
- Java Extension Pack: Java development tools
- JavaScript (ES6) code snippets: Snippets for JavaScript

Themes
- Material Theme: Popular theme pack

- One Dark Pro: Atom’s iconic theme

Productivity
- GitLens: Supercharge Git capabilities

- Live Share: Collaborative editing

- Path Intellisense: Autocomplete filenames

Workspace Setup
A workspace in VSCode represents one or more folders that are opened in an editor window.
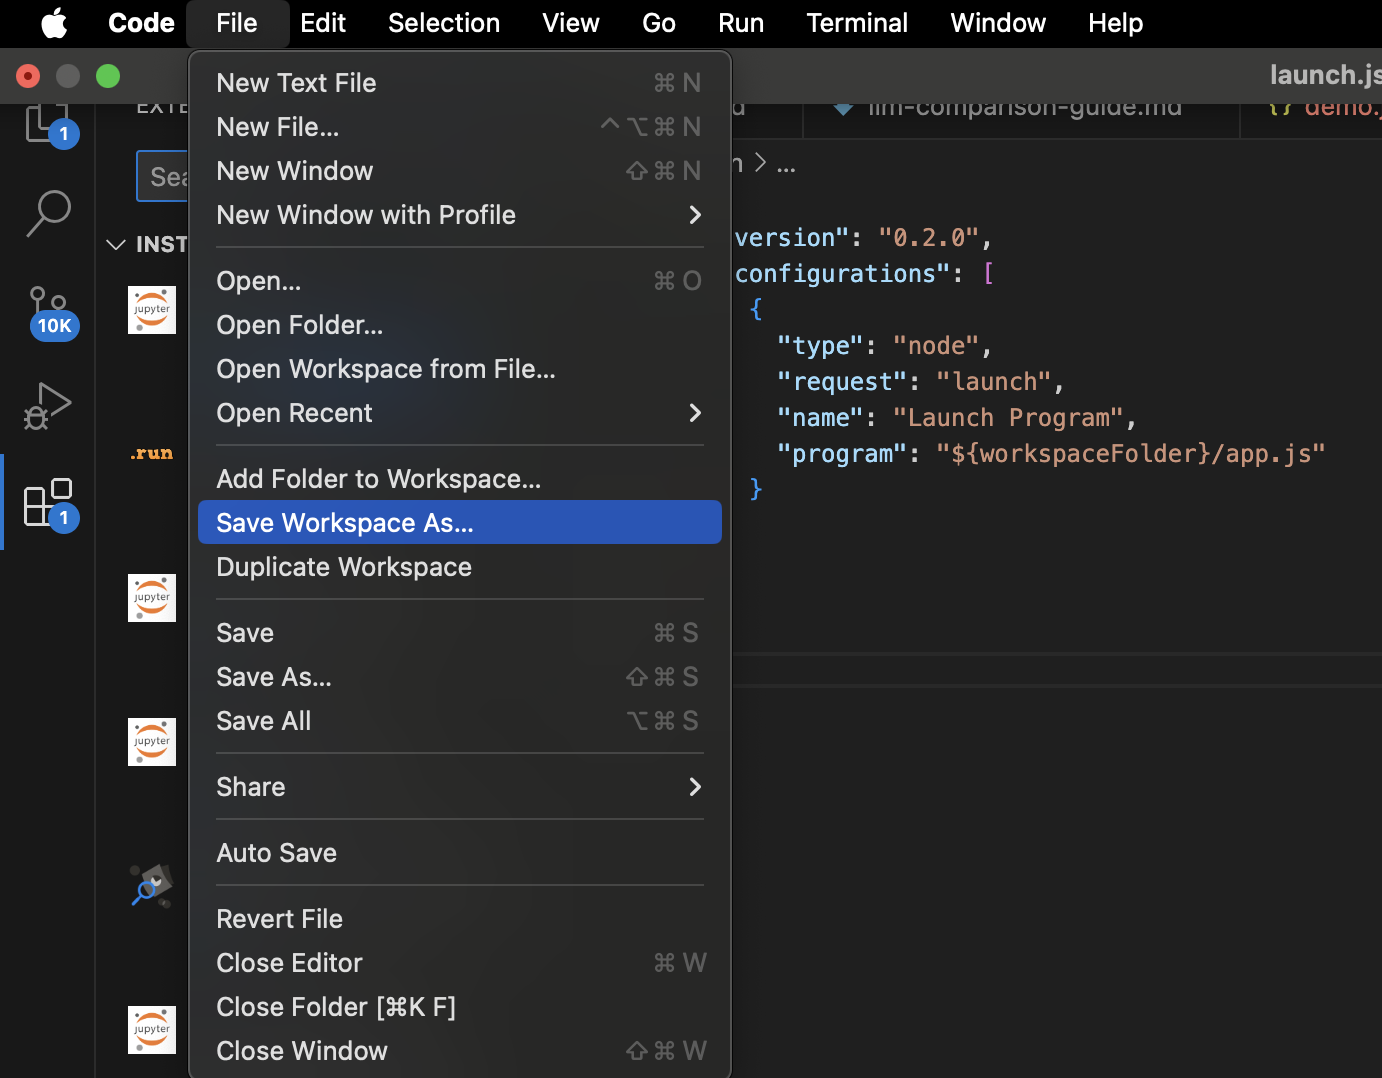
- Open a folder: File > Open Folder (Ctrl+K Ctrl+O)
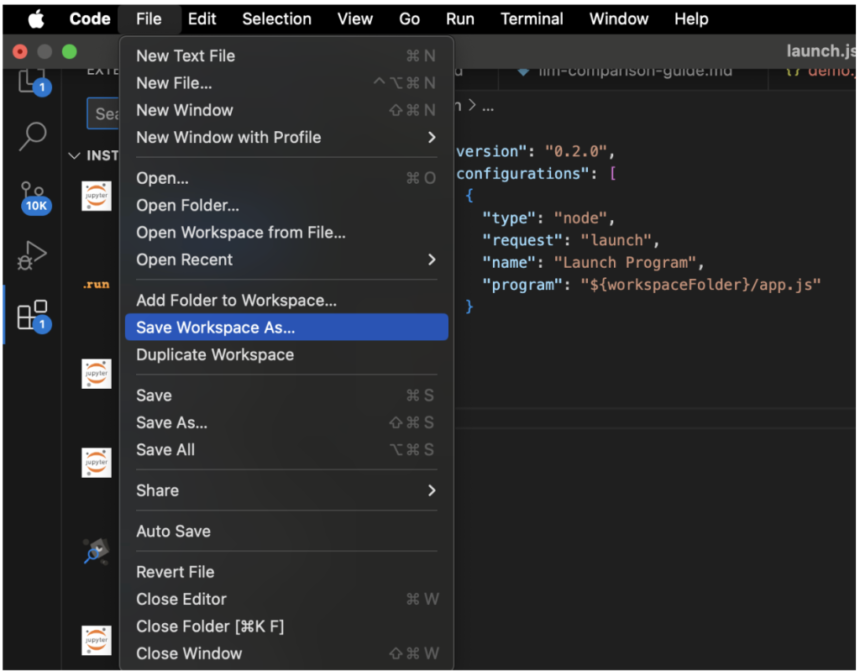
- Save workspace: File > Save Workspace As…
- Workspace settings: Create a .vscode folder in your project with:
- settings.json: Project-specific settings
- launch.json: Debugging configurations
- tasks.json: Build task configurations
- extensions.json: Recommended extensions
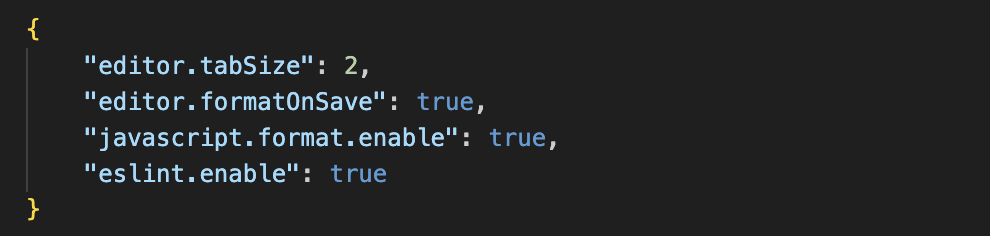
Example settings.json for a JavaScript project:
Keyboard Shortcuts
VSCode has many keyboard shortcuts. Here are the most essential ones:
- Ctrl+P: Quick Open, Go to File
- Ctrl+Shift+P: Show Command Palette
- Ctrl+Space: Trigger suggestion
- F12: Go to Definition
- Alt+F12: Peek Definition
- Shift+Alt+F: Format document
- F5: Start debugging
- Ctrl+`: Toggle terminal
- Ctrl+B: Toggle sidebar
- Ctrl+/: Toggle line comment
- Ctrl+K Ctrl+C: Add line comment
- Ctrl+K Ctrl+U: Remove line comment
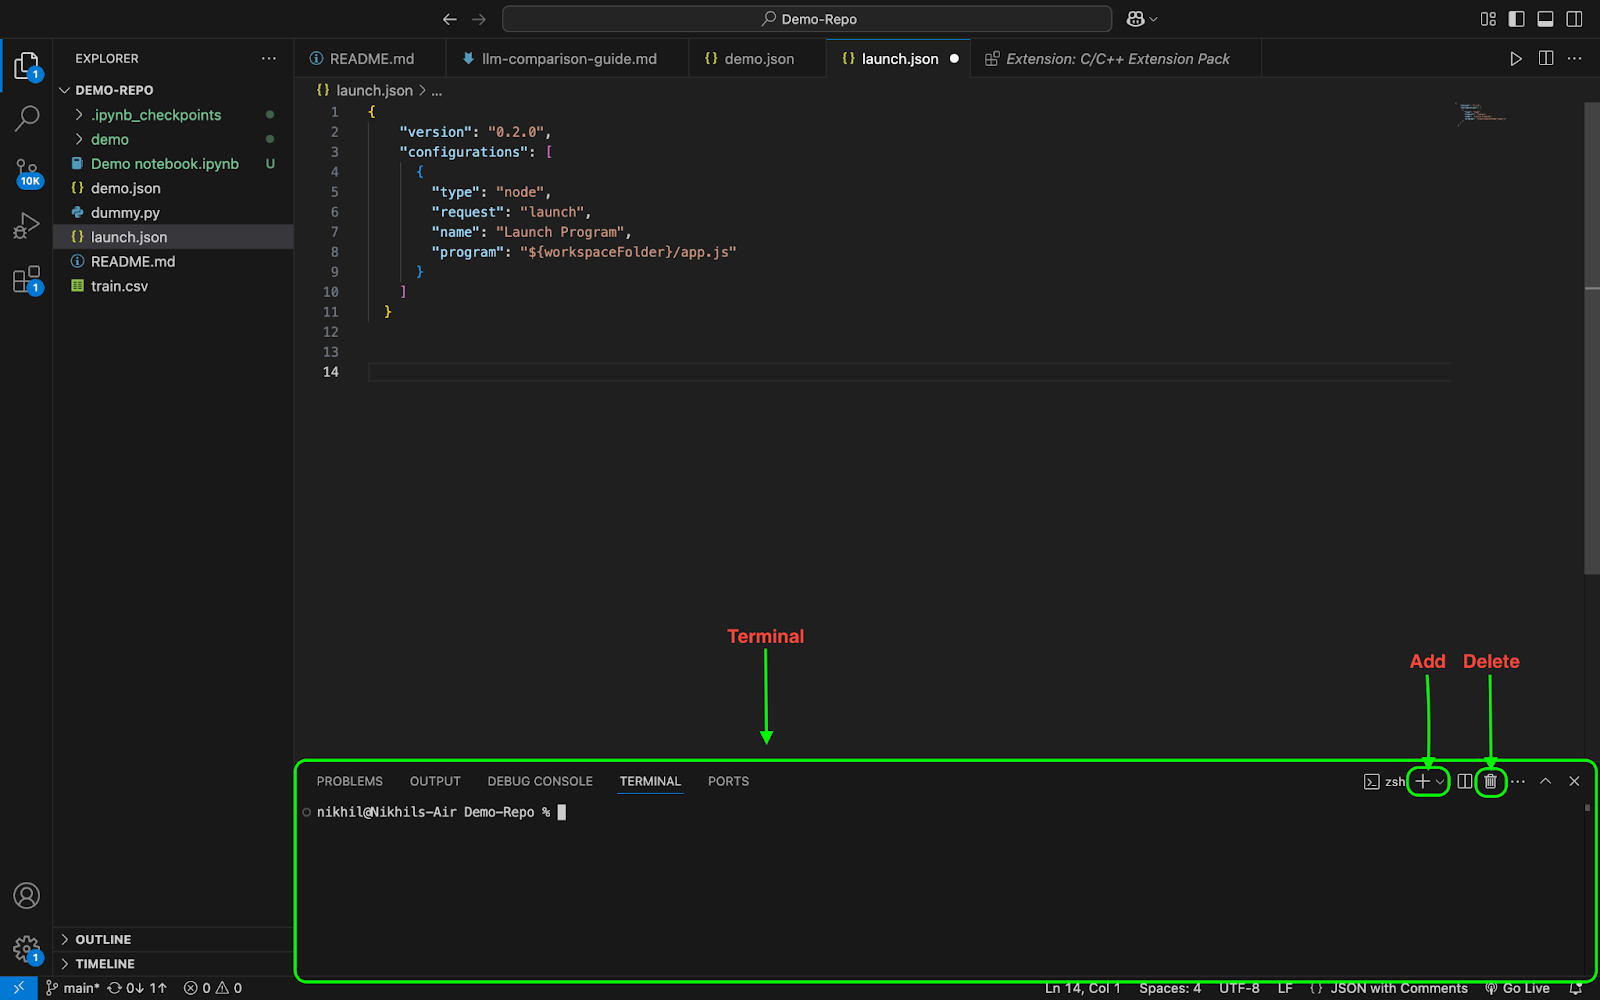
Integrated Terminal
VSCode includes an integrated terminal:
- Open terminal: View > Terminal
- Multiple terminals: Click the plus icon
- Switch terminals: Use the dropdown
Source Control Integration
VSCode has built-in Git support:
- Initialize repository: Click the Source Control icon and “Initialize Repository”
- Stage changes: Click the + next to modified files
- Commit changes: Enter a message and press Ctrl+Enter
- Push/Pull: Use the ellipsis menu (…) for additional Git commands
- Visual diff: Click on a modified file to see changes
Debugging
Set up debugging for your project:
- Create a launch configuration:
- Click the Run and Debug icon
- Click “create a launch.json file”
- Select your environment
- Set breakpoints: Click in the gutter next to line numbers
- Start debugging: Press F5
- Use debug controls: Continue, Step Over, Step Into, Step Out
- Watch variables: Add expressions to the Watch panel

Additional Resources
- Official Documentation
- VSCode Tips and Tricks
- VSCode YouTube Channel
- VSCode Keyboard Shortcuts Reference
The post Visual Studio Code Setup Guide appeared first on MarkTechPost.