

Introduction
GitHub is an essential platform for version control and collaboration. This guide will walk you through three fundamental GitHub skills: creating and uploading a repository, cloning an existing repository, and writing an effective README file. By following these step-by-step instructions, you’ll be able to start using GitHub efficiently for your projects.
1. Creating and Uploading a Repository on GitHub
1.1 Create a GitHub Account
- Visit github.com
- Click “Sign up” and follow the registration process
- Verify your email address

1.2 Create a New Repository
- Log in to your GitHub account
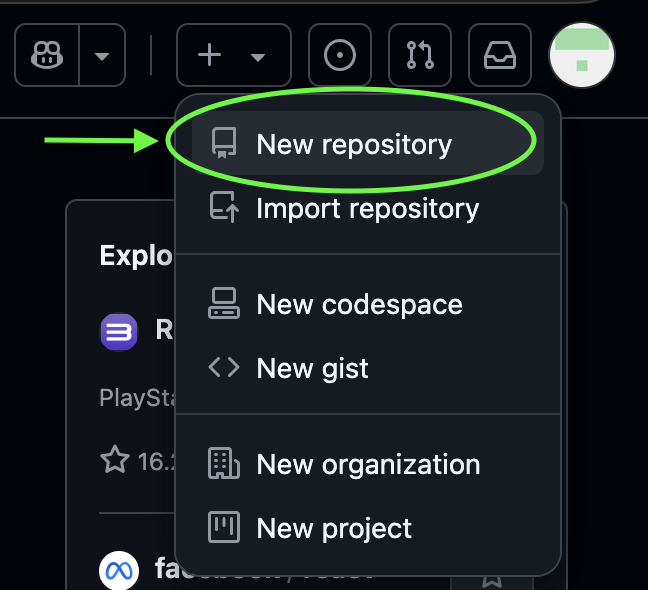
- Click on the “+” icon in the top-right corner
- Select “New repository” from the dropdown menu
1.3 Set Up Your Repository
- Enter a name for your repository
- Add an optional description
- Choose public or private visibility
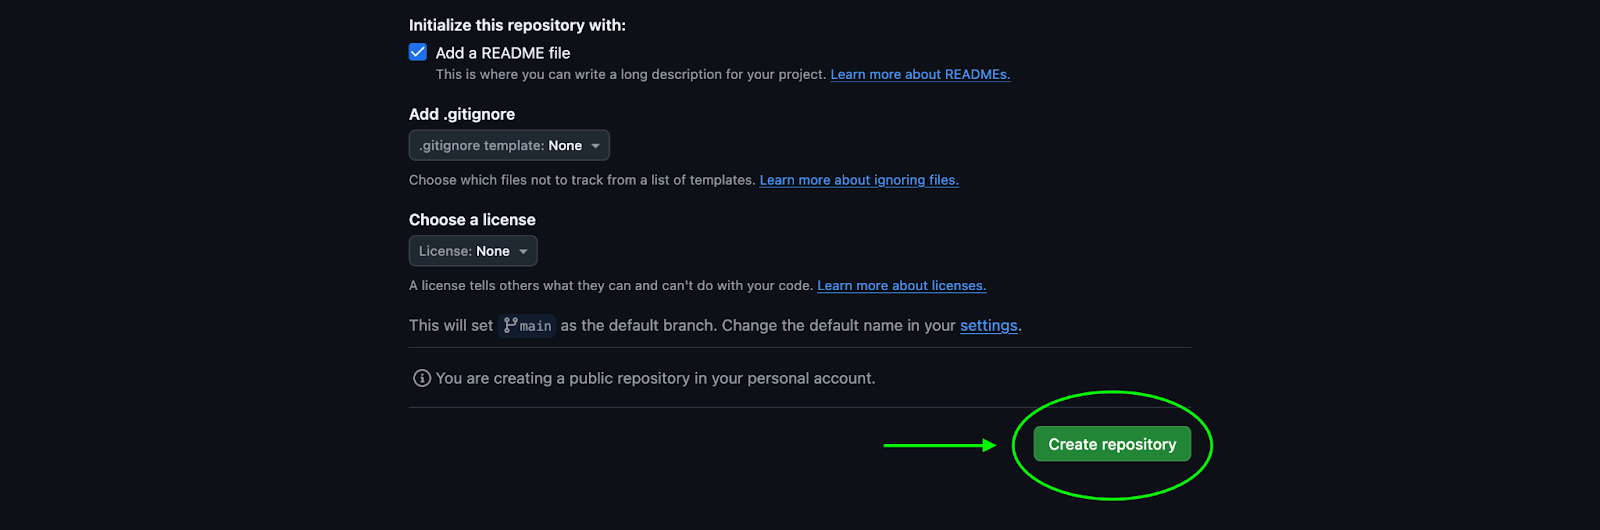
- Check “Add a README file” (optional at this stage)
- Click “Create repository”

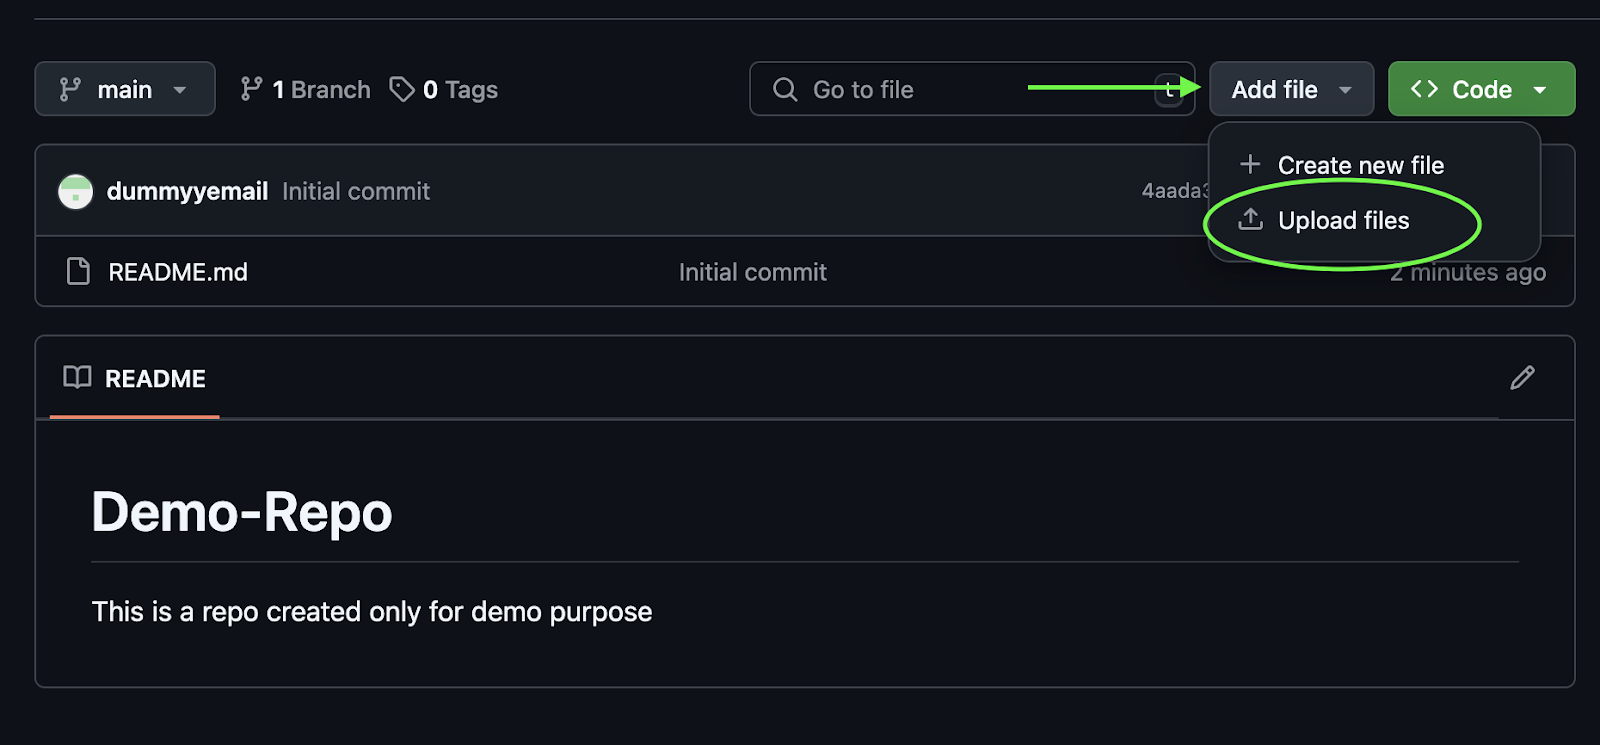
1.4 Upload Files to Your Repository
- In your new repository, click on “Add file” dropdown
- Select “Upload files”
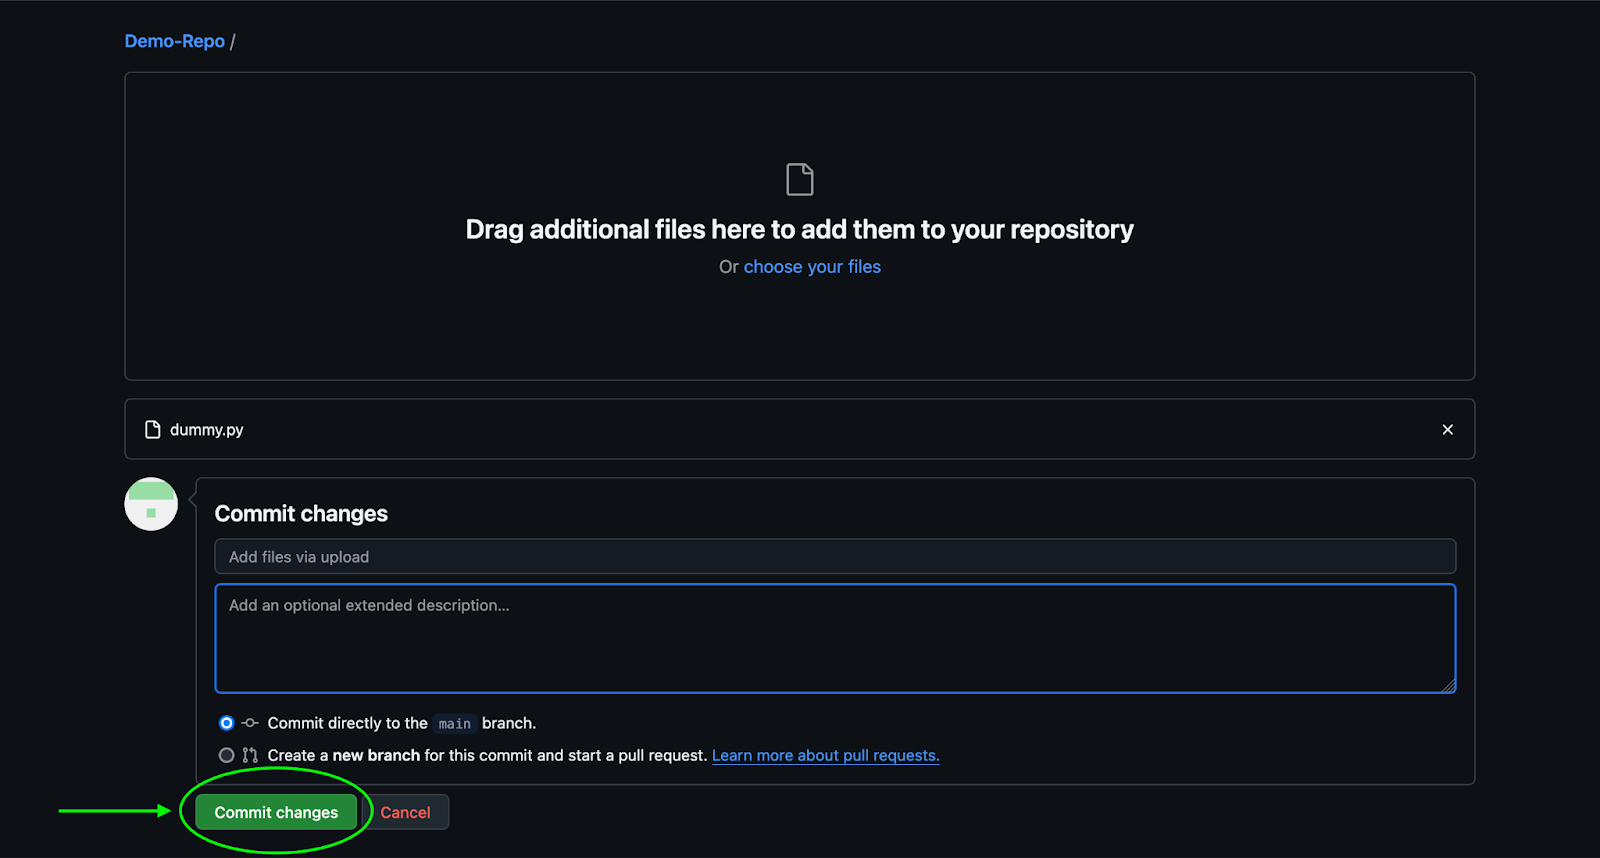
- Drag and drop files or click to select from your computer
- Add a commit message describing your changes
- Click “Commit changes”
2. Cloning a Repository
2.1 Find the Repository URL
- Navigate to the repository you want to clone
- Click the green “Code” button
- Copy the HTTPS URL (or SSH URL if you have SSH set up)

2.2 Clone Using Command Line
- Open your terminal or command prompt
- Navigate to the location where you want to store the repository
- Type git clone followed by the repository URL:
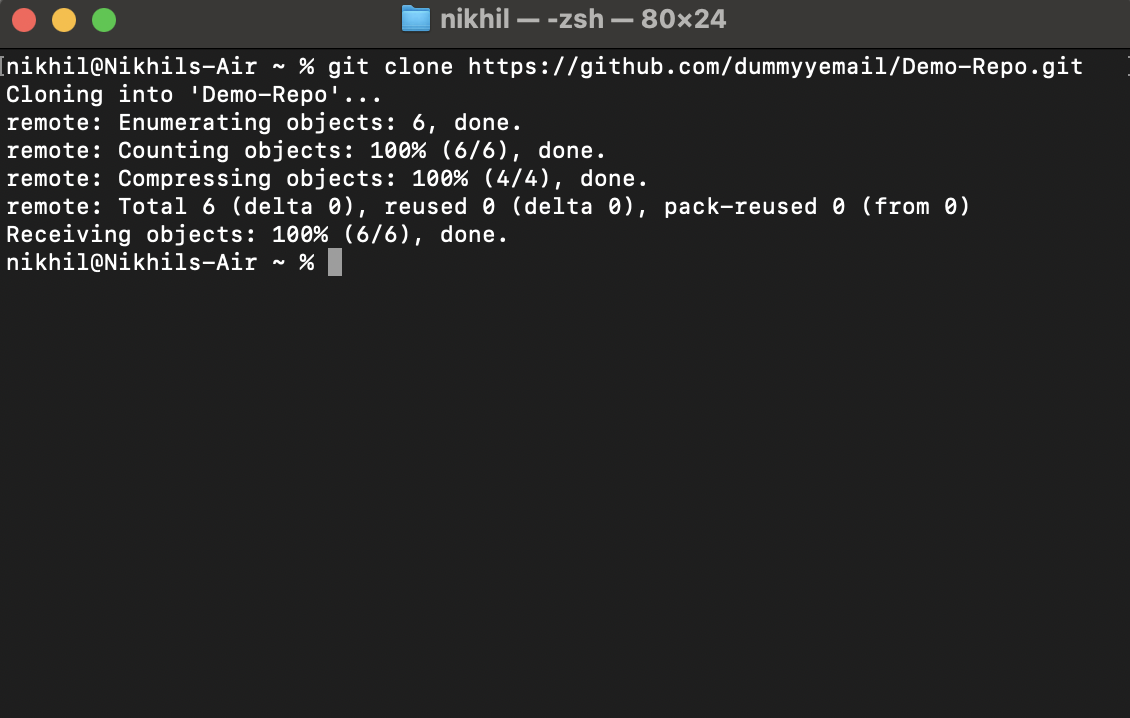
- Press Enter and wait for the repository to download
3. Writing an Effective README
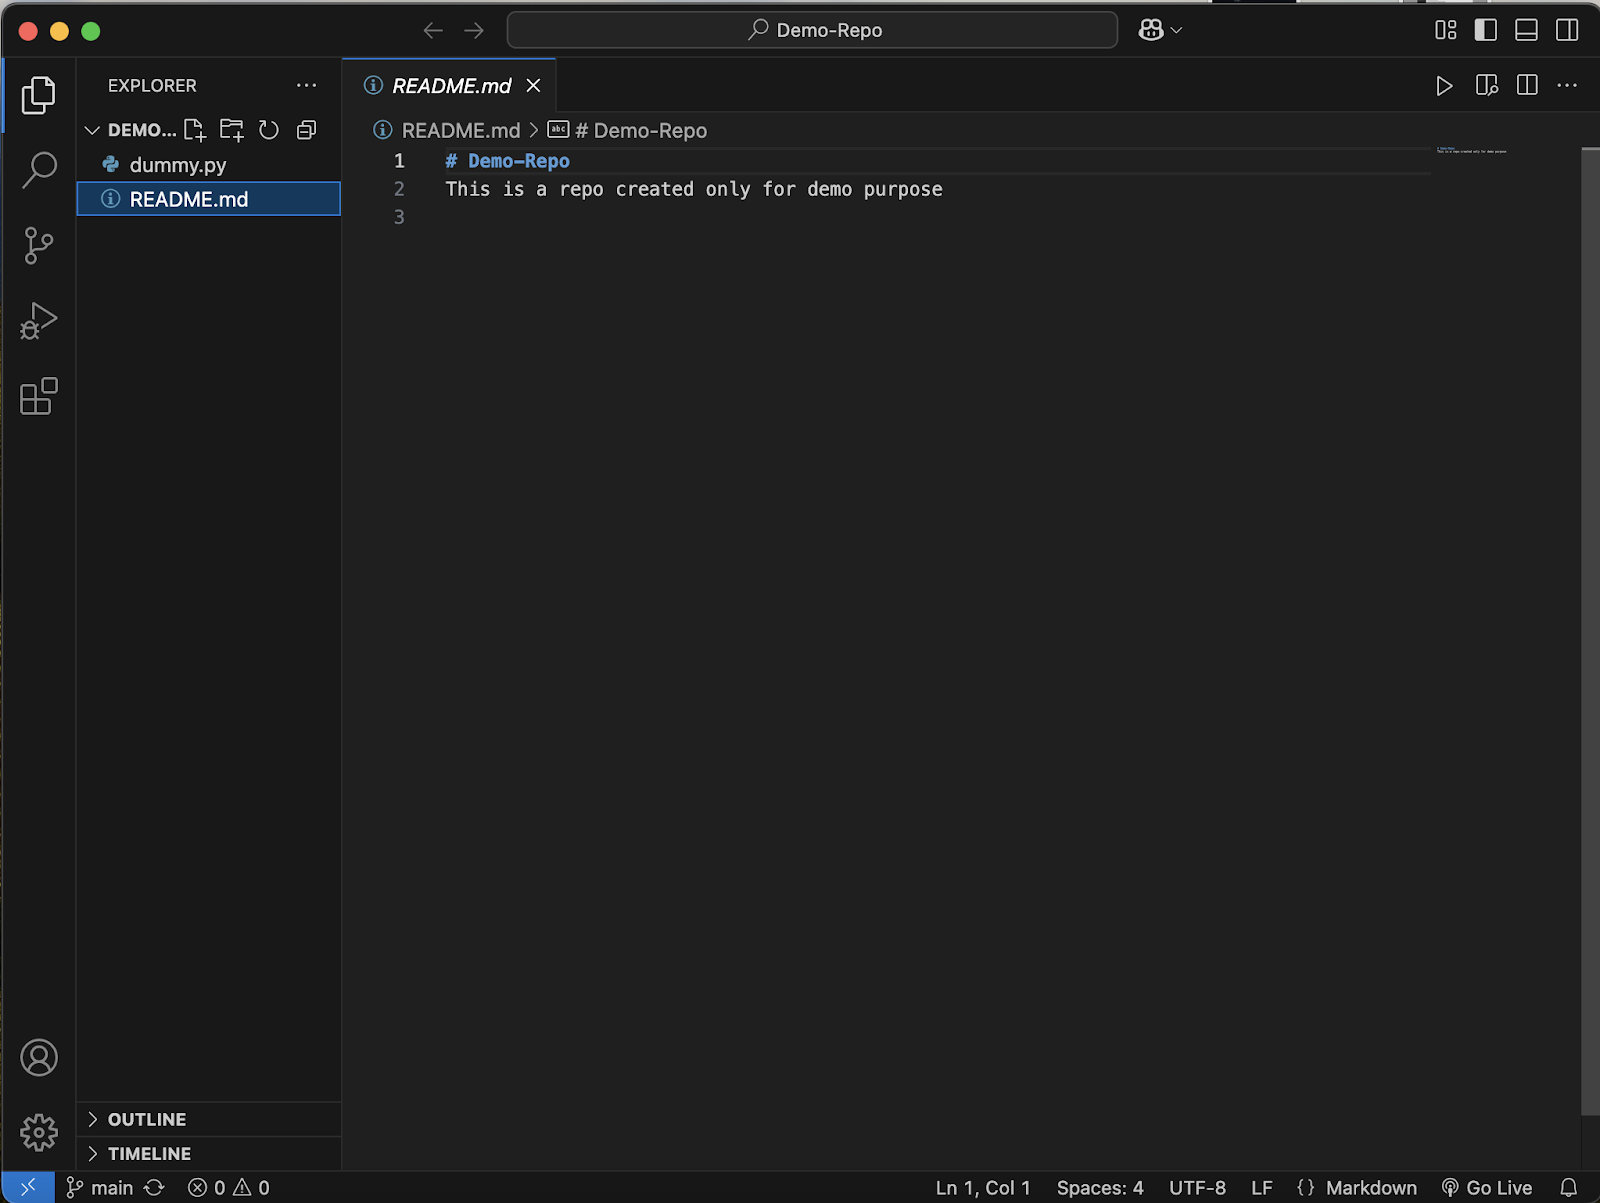
3.1 Open the README.md File
- In your cloned repository, locate the README.md file
- Open it using any text editor (VS Code, Notepad++, etc.)
3.2 Structure Your README
A good README typically includes:
- Project Title and Description

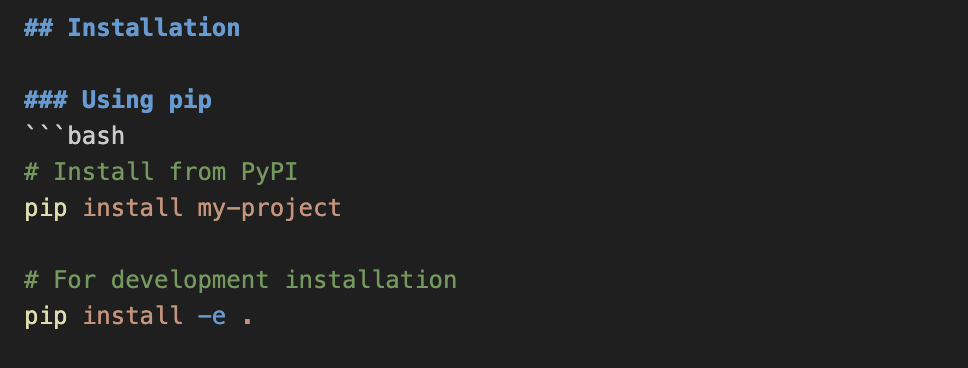
- Installation Instructions
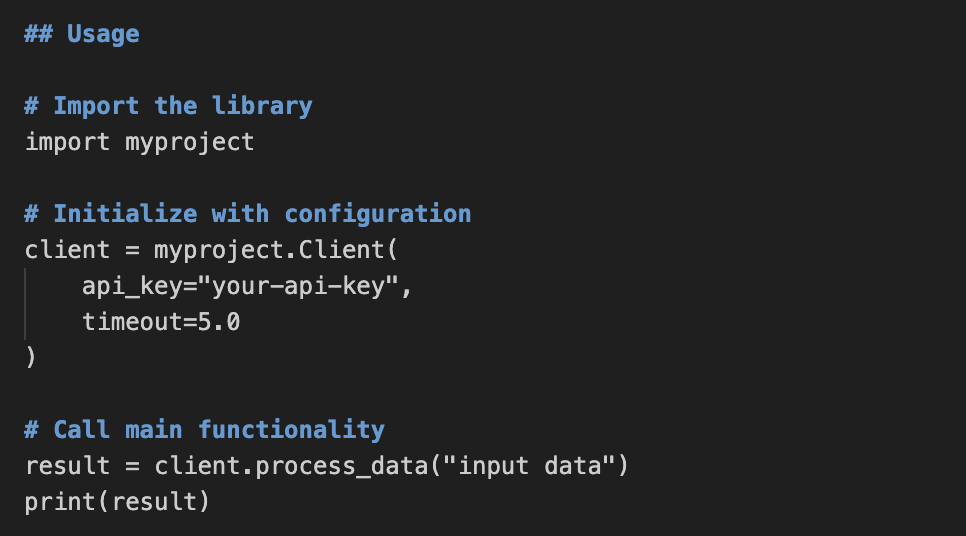
- Usage Examples
- Features
- Contributing Guidelines

- Licence Information

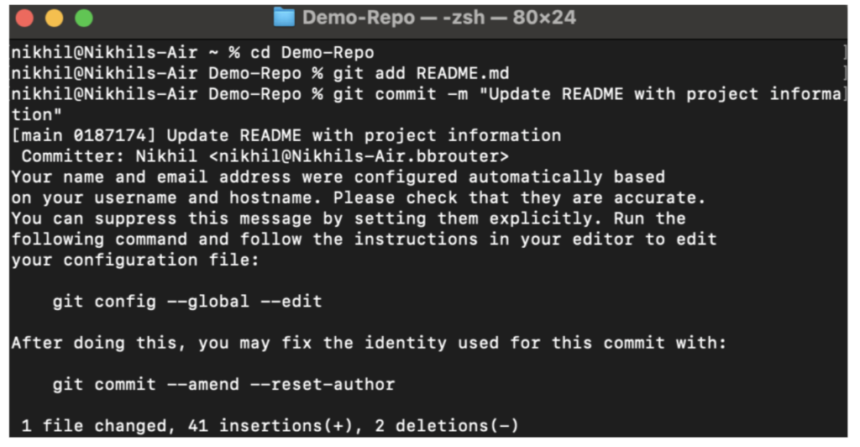
3.3 Commit and Push Your README
- Save your README.md file
- Open terminal in your repository folder
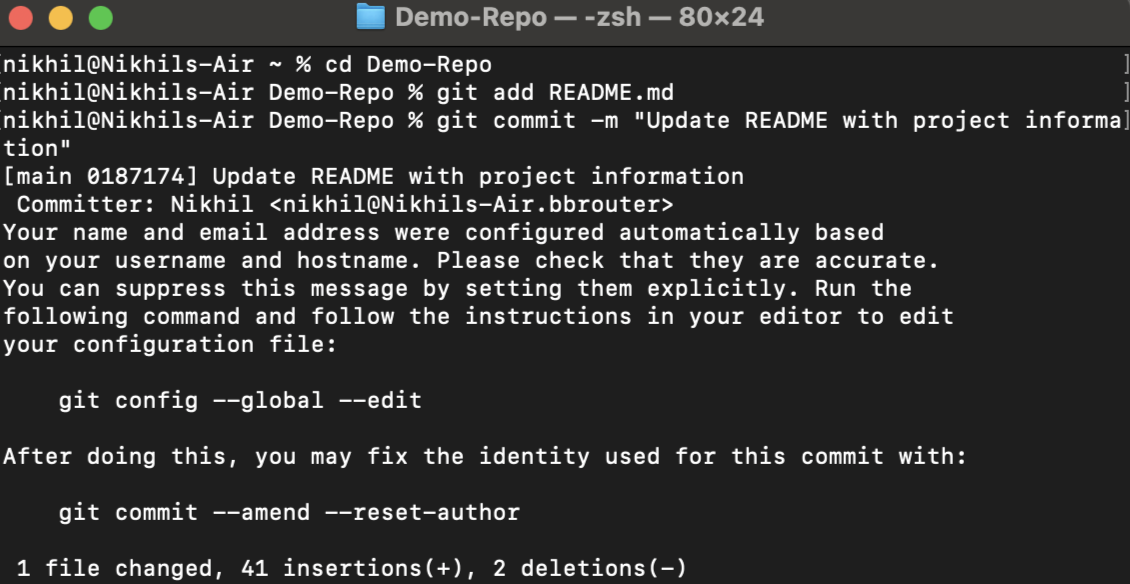
- Add the file to staging with git add README.md
- Commit changes with git commit -m “Update README with project information”
- Push to GitHub with git push origin main (or git push origin master for older repositories)
Conclusion
In this tutorial, we’ve learned the essential skills for getting started with GitHub: creating repositories, cloning existing projects, and writing effective README documentation. These fundamental skills form the backbone of efficient version control and collaboration in software development. By mastering these techniques, you can now properly showcase your projects, contribute to open-source initiatives, and collaborate seamlessly with other developers. More importantly, you’ve taken the first steps toward professional Git workflows that are indispensable in modern development environments.
The post Getting Started with GitHub: Upload, Clone, and Create a README appeared first on MarkTechPost.